 Why I’m Seeing a Therapist Even Though I’m in a Good Place
 Everything You Need to Know About Essential Oils
 Welcome to Advice from a 30 Something!
 5 Smart Money Habits To (Finally) Nail This Decade
 The 5 Best Podcasts for 30 Somethings
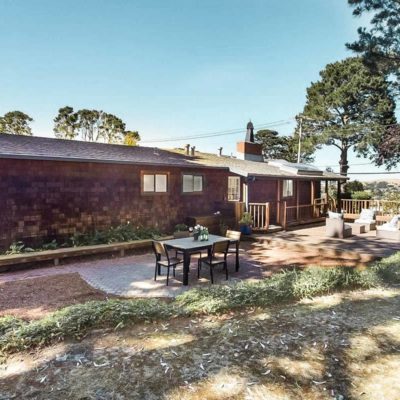 Our First Home: The Before Photos & Renovation Plan
 An Indie Dinner Party Playlist
 3 Tips for Low Maintenance Hair Color
 How to Take Better Care of Your Clothes
 4 Quick Tips for Making An Outfit More Flattering
 Screw Timelines: Why We Bought a House Before Getting Engaged
 Why I Waited Until My 30s To Get Married
 10 Things You Didn’t Want to Know About Birth (But Kinda Need To!)

Our First Home: The Before Photos & Renovation Plan
posted on July 22, 2018 | by Amanda Holstein
One year ago today, Jacob and I were at a wedding in Colorado, sitting on a bus on the way to the ceremony. Jacob got a call from our realtor, he listened to her on the other line, straight-faced, then hung up. I screamed, “Did we get the house?!”. He nodded gently and then I sh*t my pants. Well, not literally, but this is the actual face I made the moment he told me:

The Specs
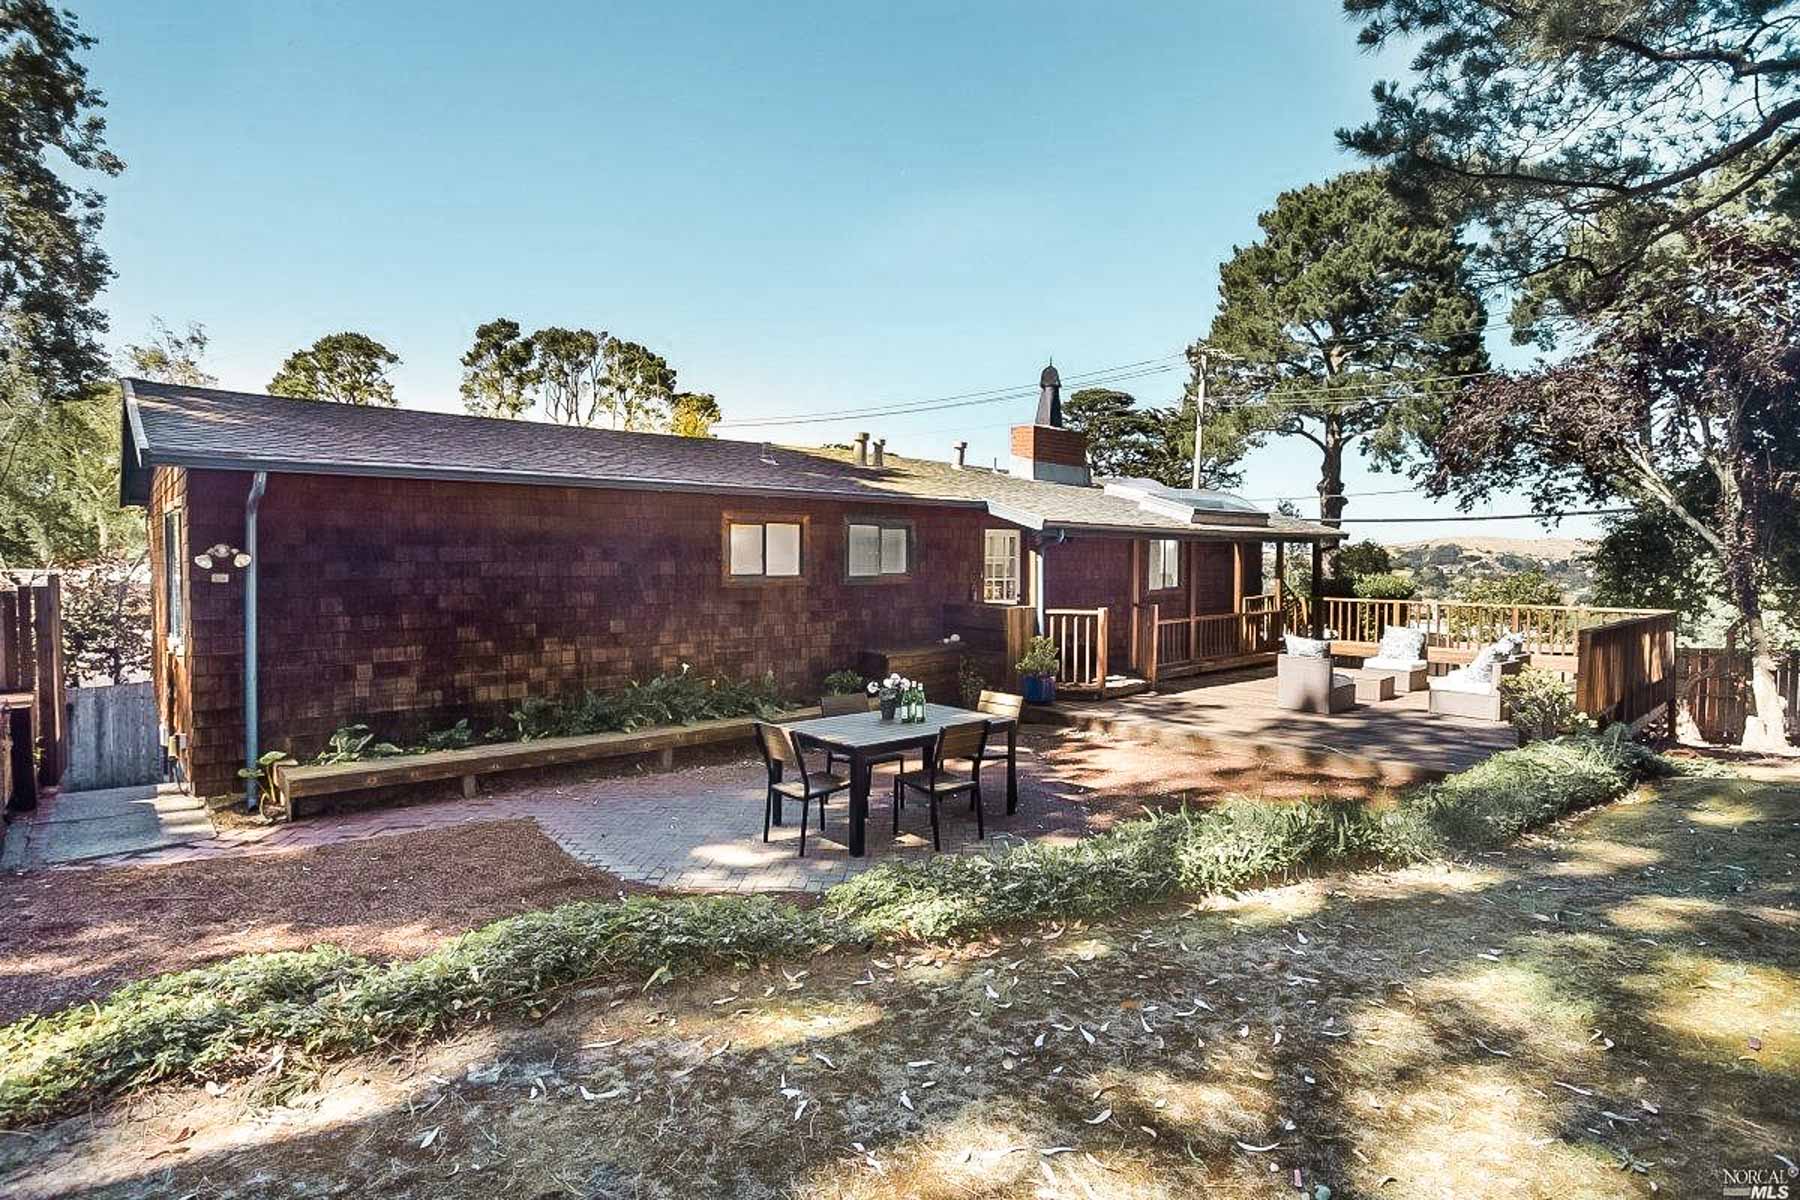
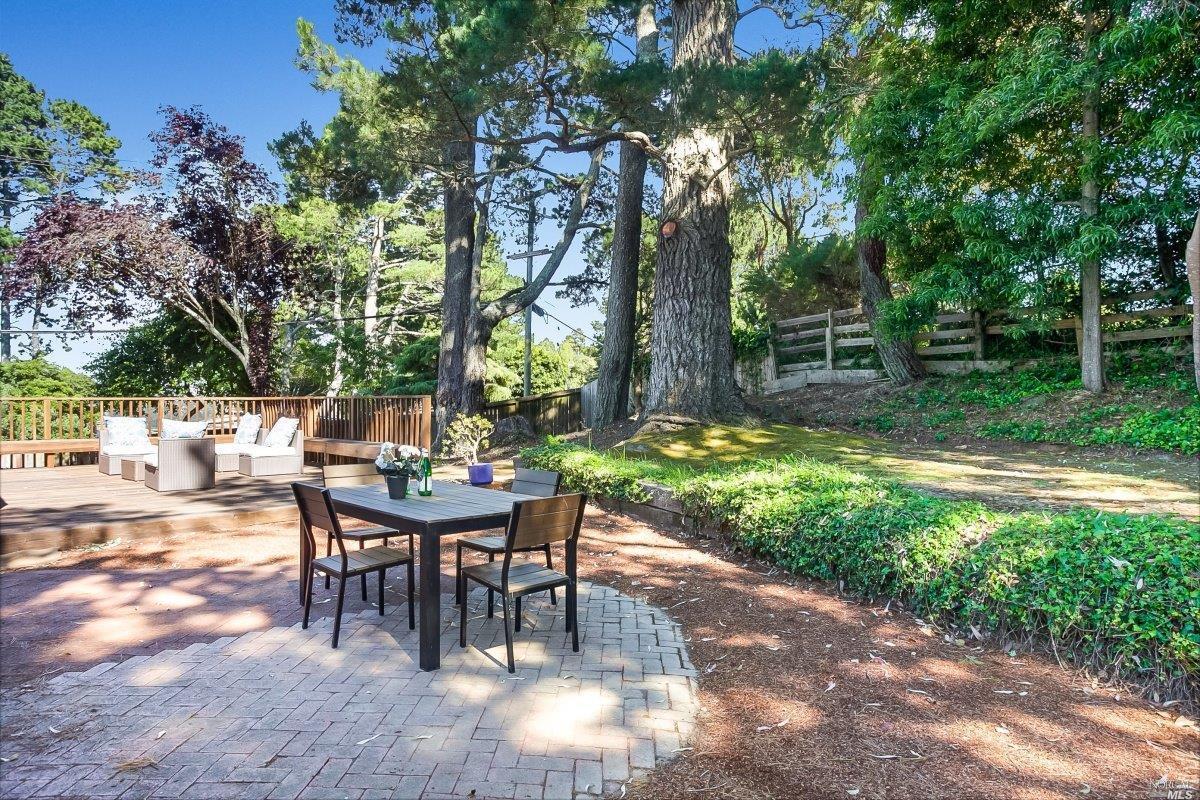
The house is about 1900 sq ft, 4 bedrooms, 3 baths. It was built in the 1960s, likely as a summer vacation home for some San Franciscans. Since then it’s had many lives and was most recently used as two separate apartments for the teachers at the school next door to rent. It’s got brown shingles on the exterior, a weird turquoise color for the trim (which we later realized were the school colors), and a great yard.
Because Mill Valley is filled with hills, the main entrance to our house is on the top floor. That level has the kitchen, living room, 3 bedrooms, and 2 bathrooms. Downstairs has the 4th bedroom and 3rd bathroom, as well as a small den. The house is definitely not updated. The kitchen is oldddd – in fact, the oven doesn’t even fit a normal size pan. But it had the space we needed, the location we desired, and the yard we never thought we’d get. In fact, this photo is what made us even bother to go see the house:
The Before Photos
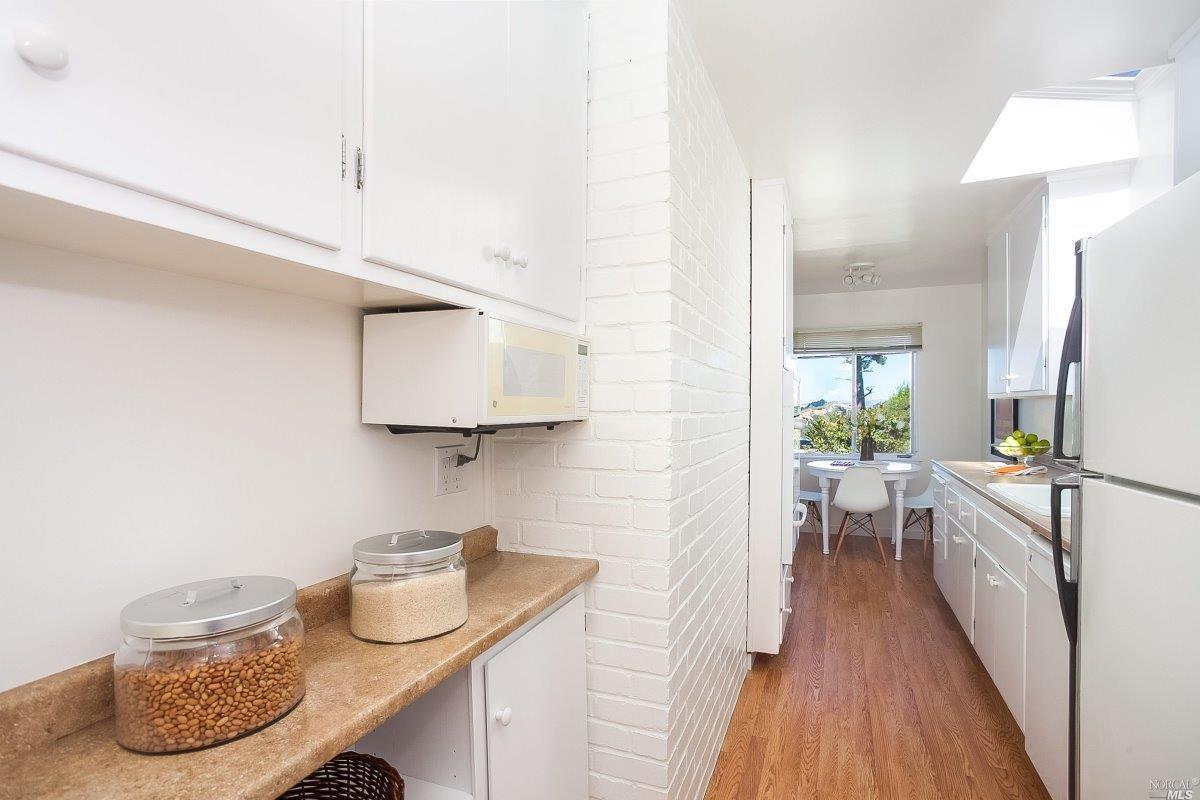
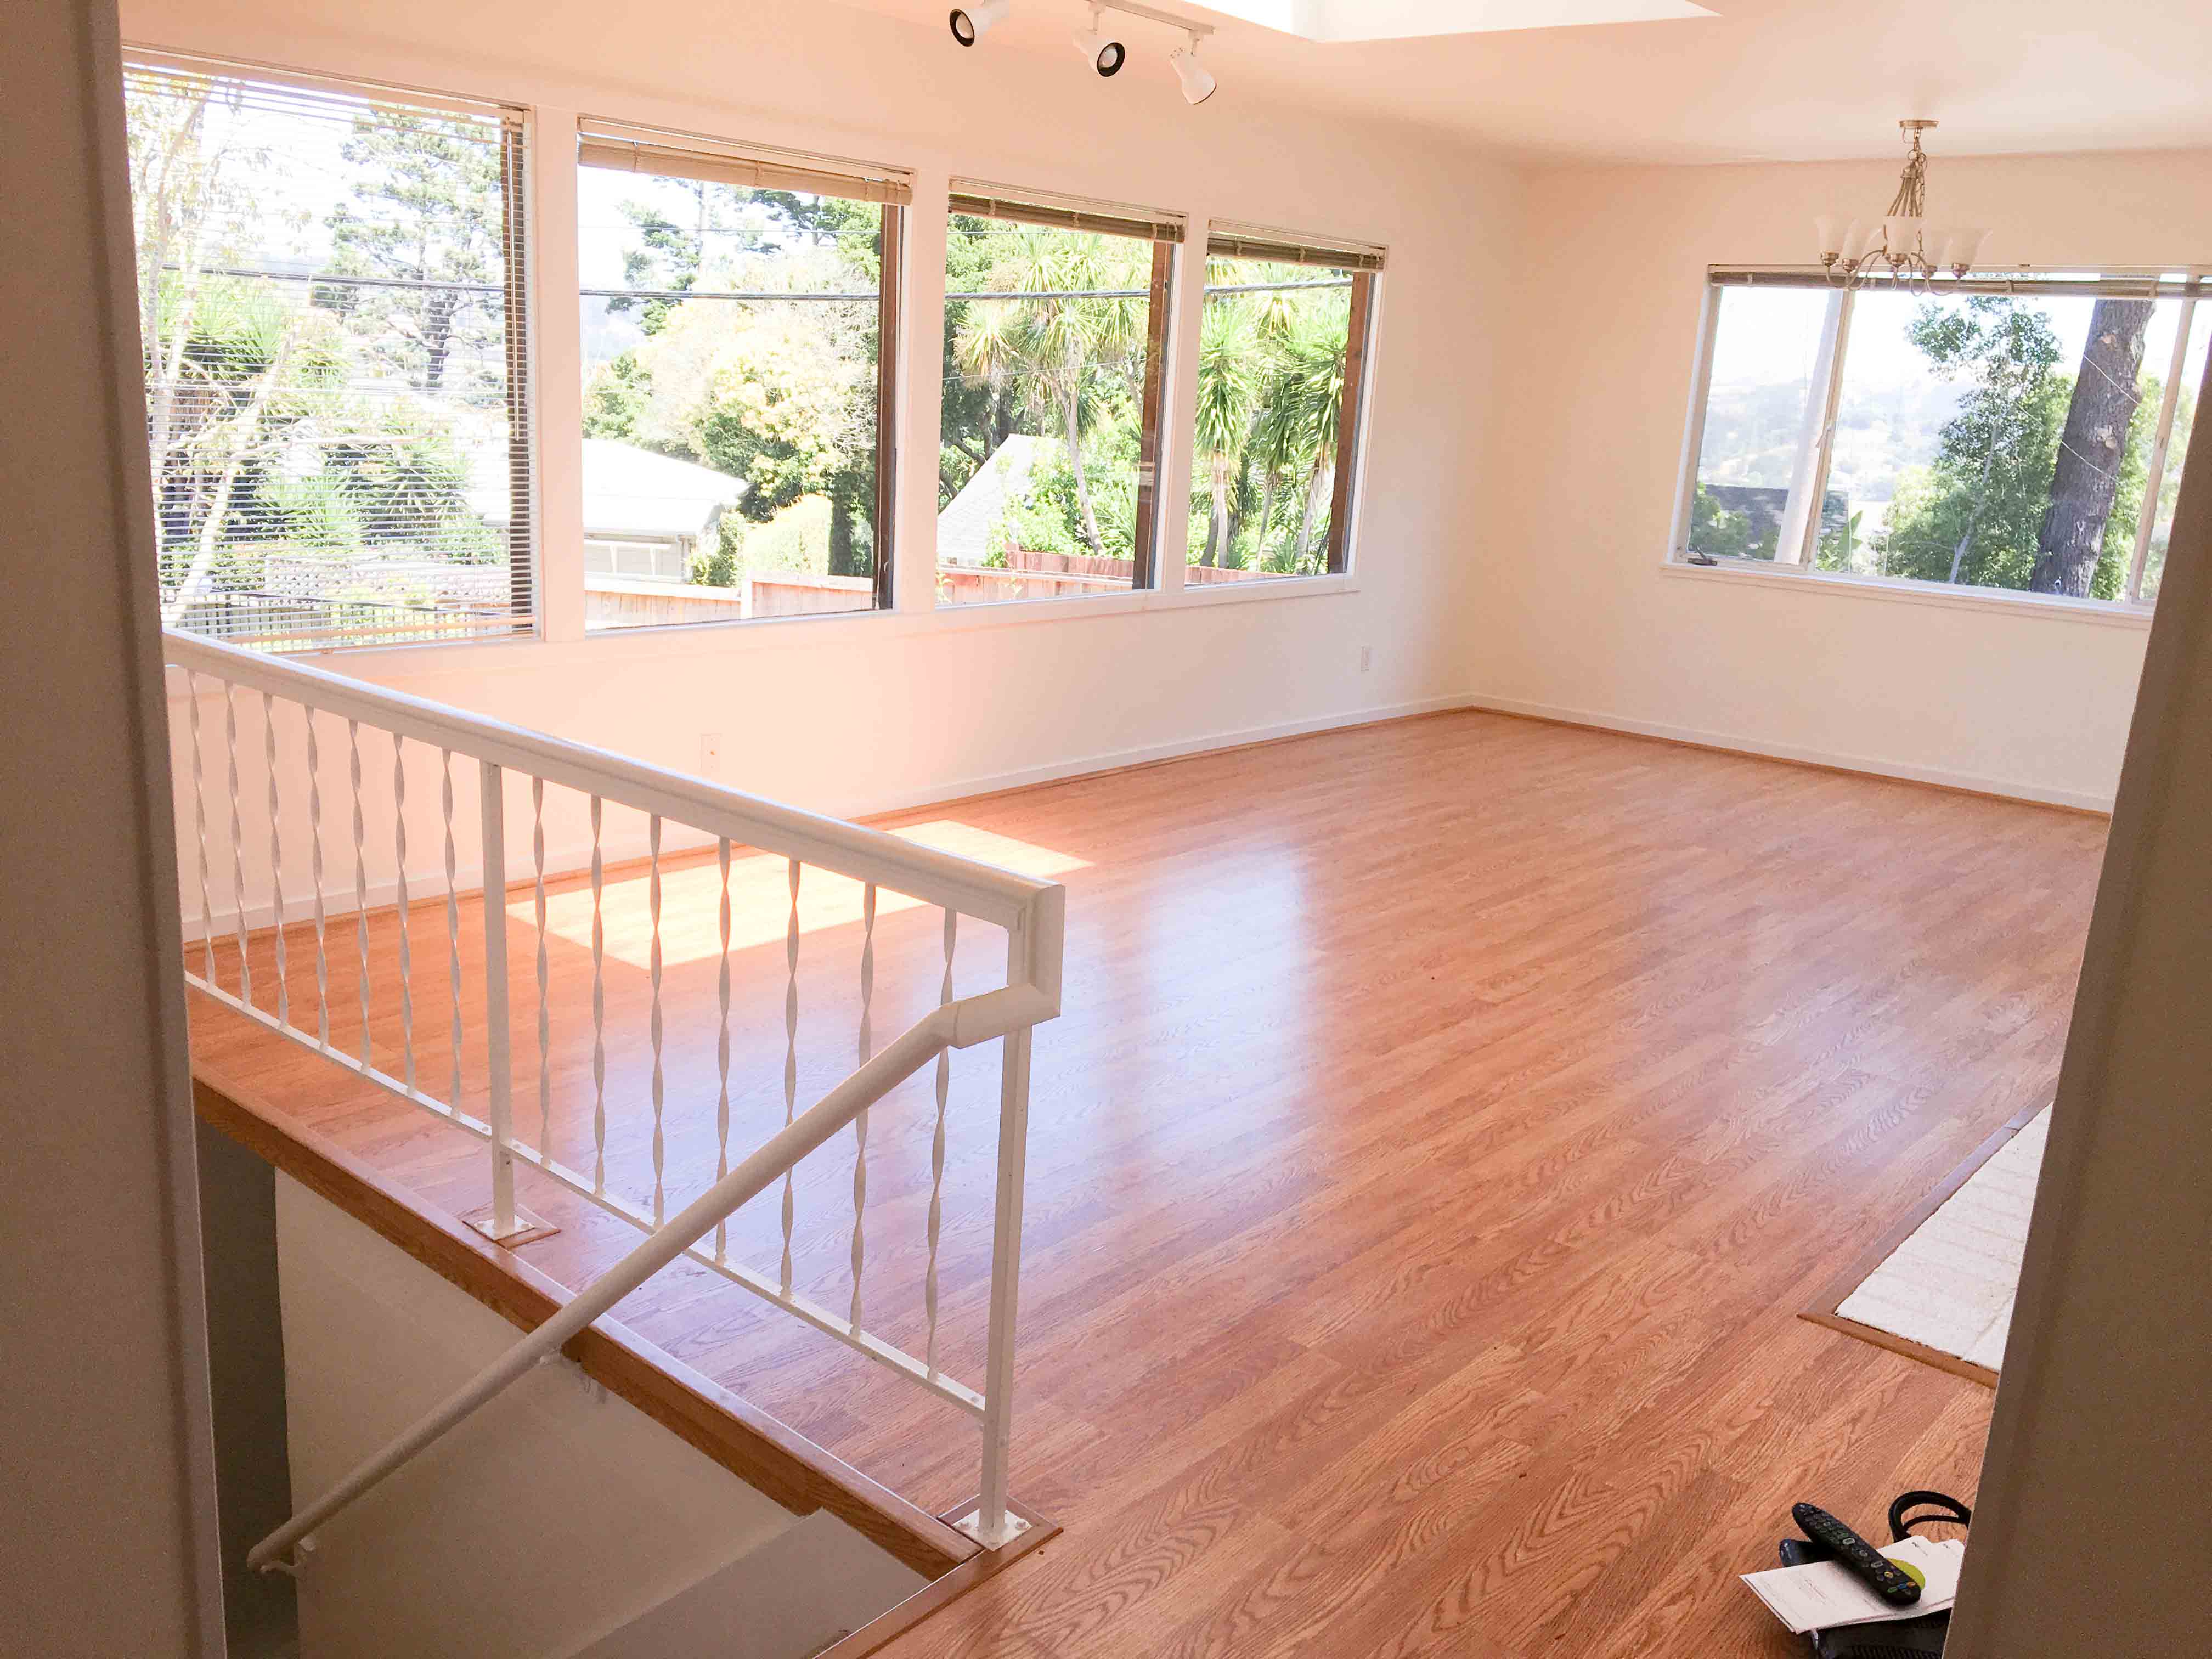
So, most of these are actually the photos from the listing of the house. Let’s start with the main floor. When you first walk in, the stairs to go downstairs are directly in front of you. The kitchen is directly to your right, through a doorway. The kitchen is a galley kitchen, squished between the exterior wall and the back of a massive fireplace. So when you walk into the home, you don’t get a look into the main living space — just some stairs and some walls.
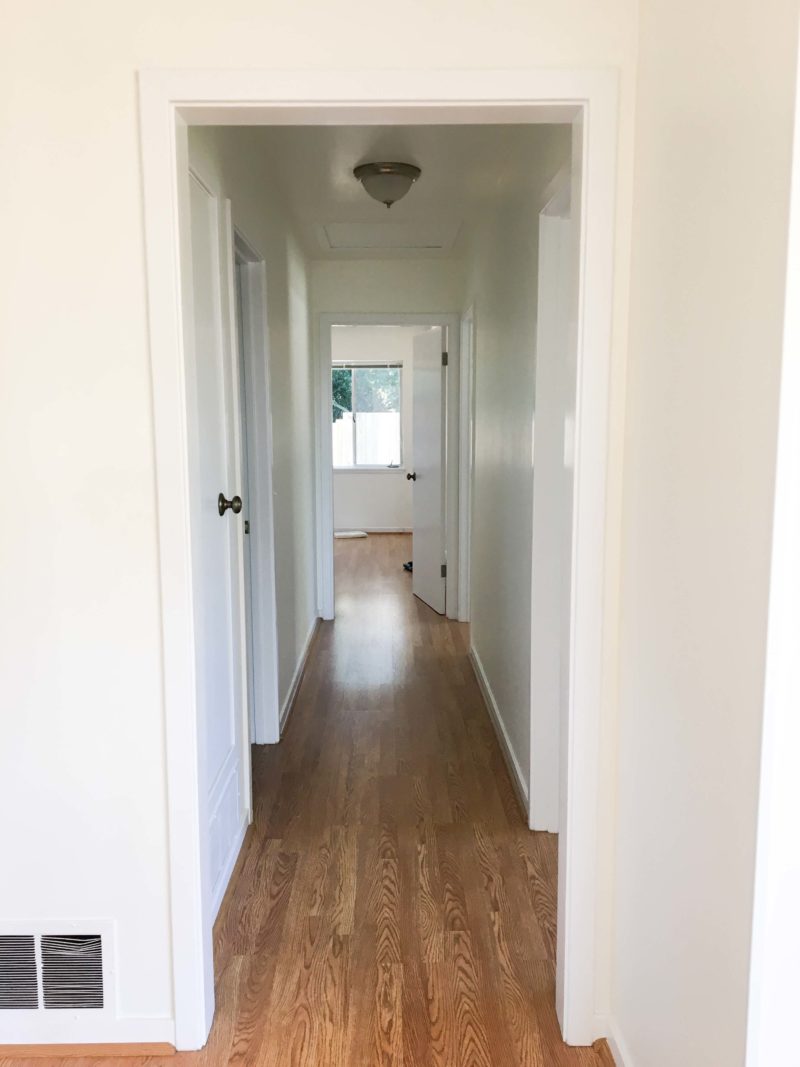
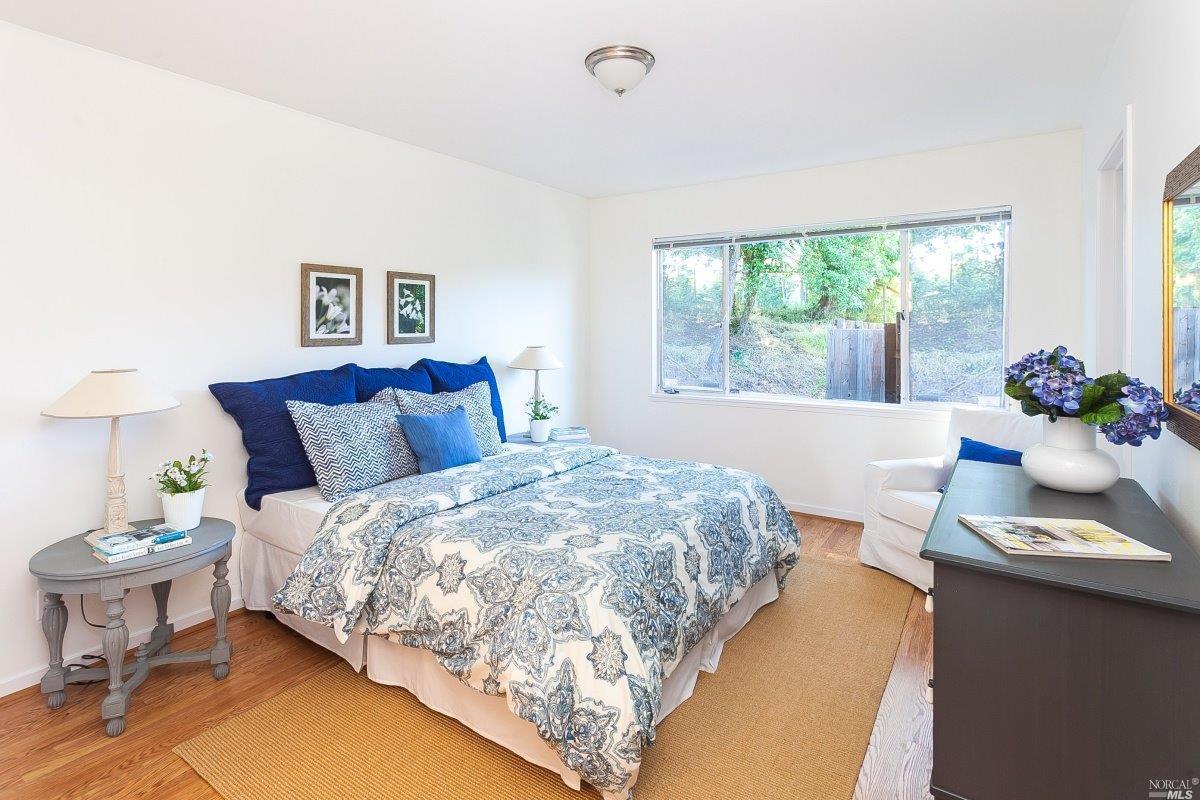
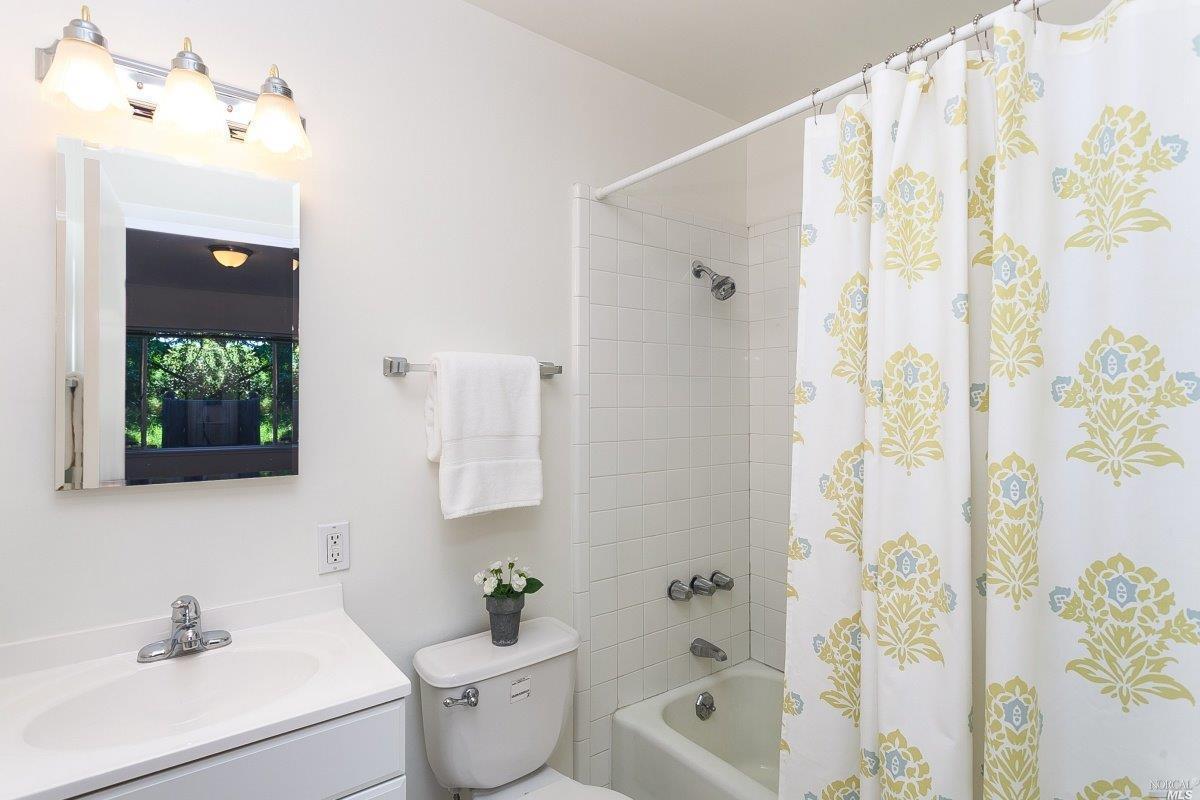
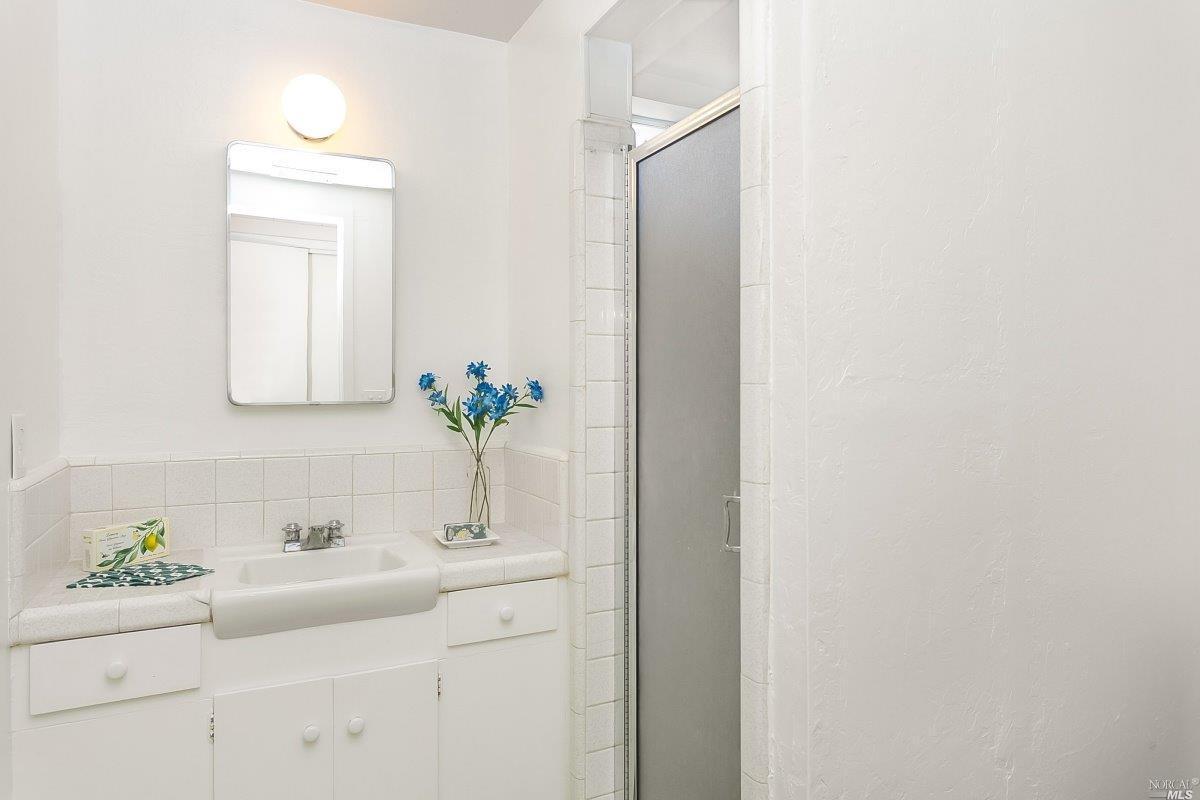
Once you walk into the house, to the left is a long hallway that leads to three of the bedrooms, a guest bathroom, and a “master” bath. I put that in quotes because it’s tiny. Here’s a quick view of the hallway, the master, and the “master” bath. The other two bedrooms are pretty small and not exciting :).
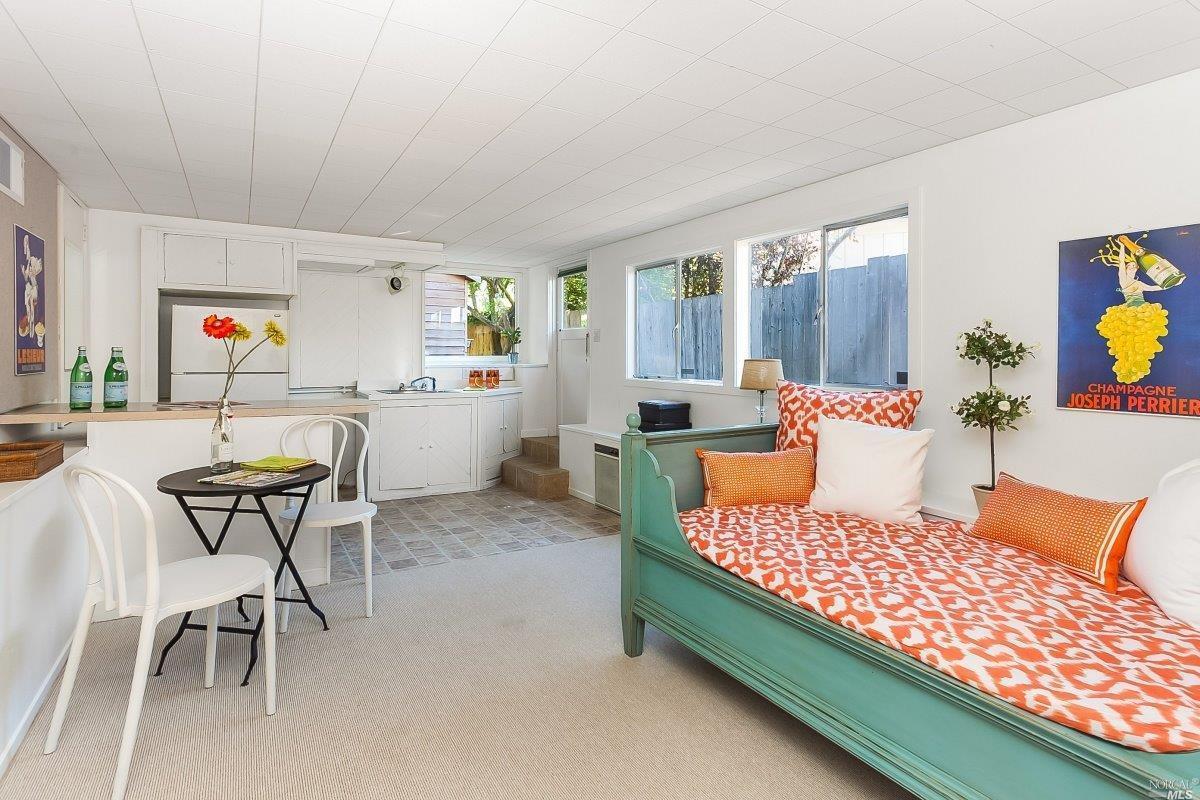
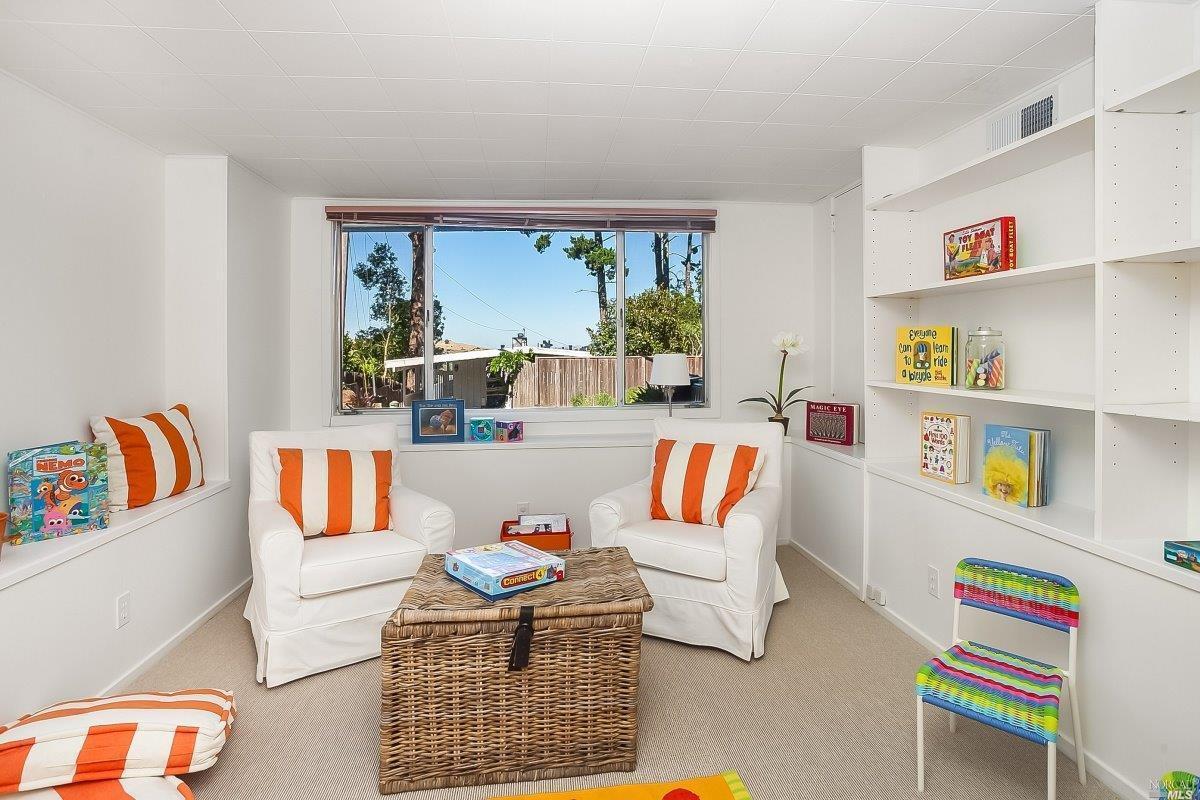
Now, let’s head downstairs. Here is where they had a studio apartment with a kitchenette, another full bath, and a small den:
The Renovation Plan
1. Downstairs
Our goal with downstairs is to make it feel like it’s part of the rest of the home. There are so many doorways and mismatched flooring down there that it feels like a garage converted into a basement (which it is). Instead, we plan to transform the studio apartment into my office space (or a 4th bedroom), update the bathroom, and remove the wall the closes off the den. That way, when you walk downstairs, you enter the den rather than a small hallway of doors.
2. Main Floor
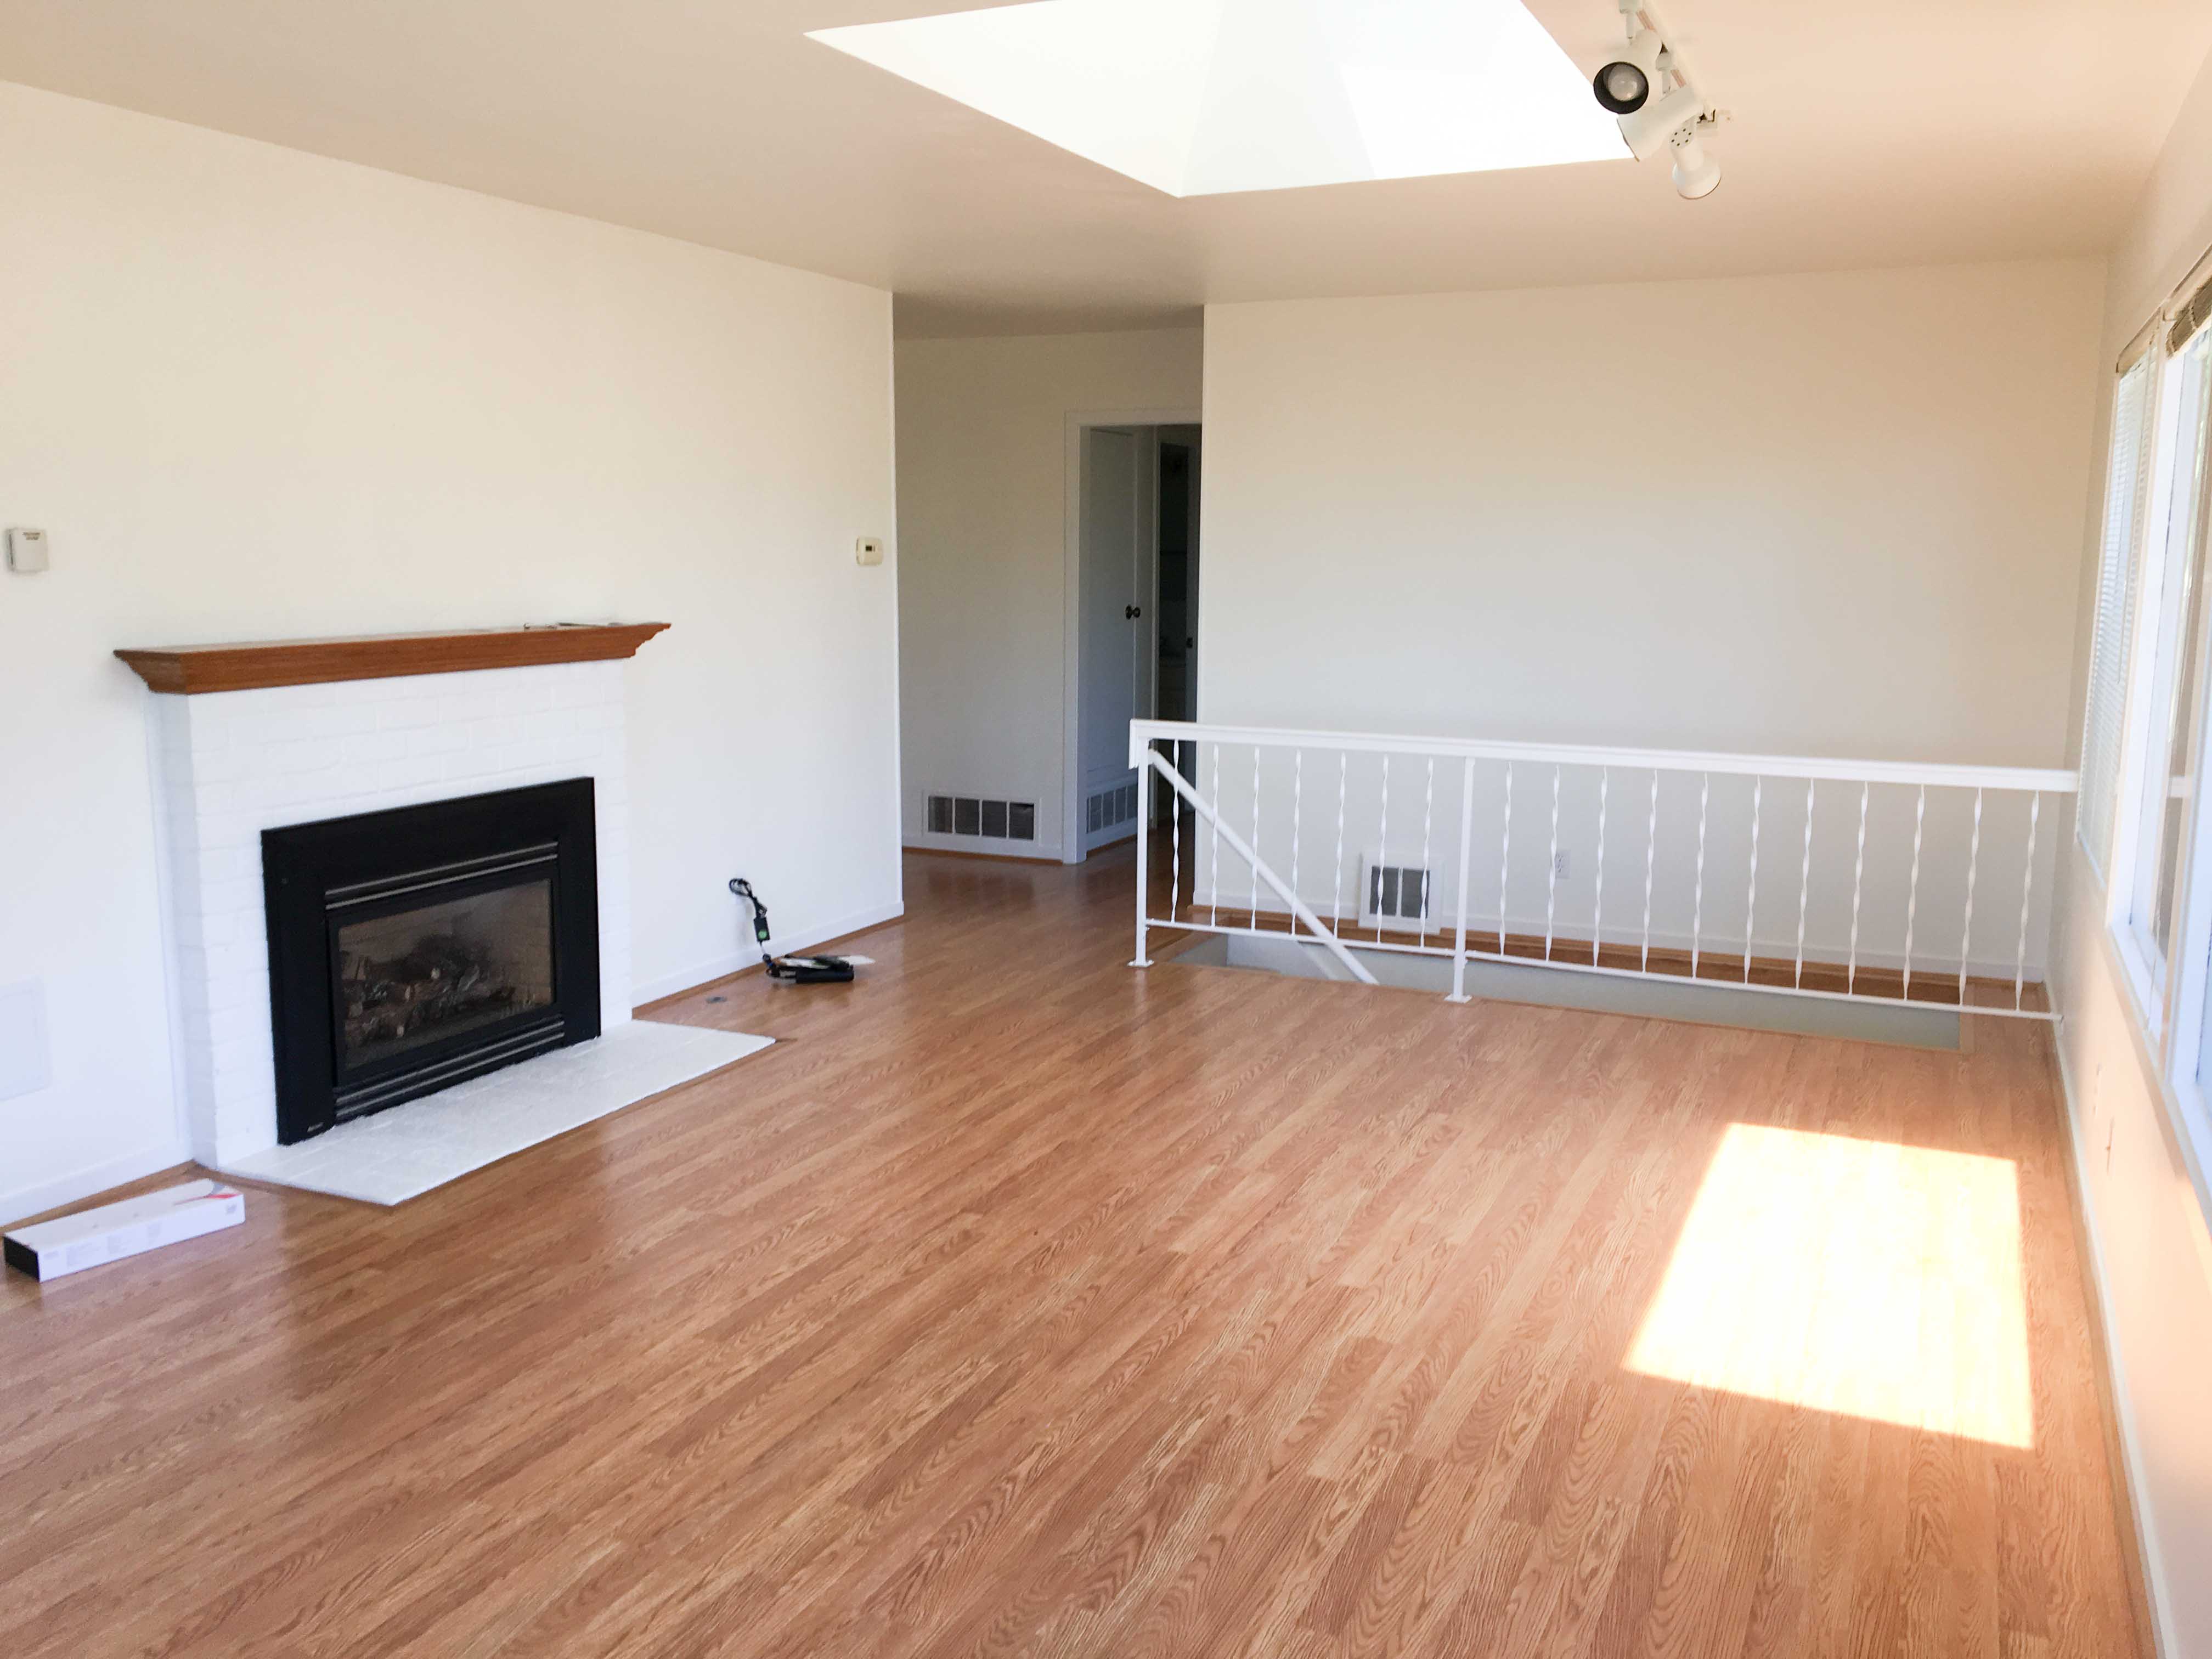
Once downstairs is finished, we’ll start on the main floor. Besides updating both bathrooms, we plan to open up the layout of the main space. That includes taking down that old fireplace. I tried to think of a creative way to keep it, but it really is just smack in the middle of the space, so we decided it’d be best to take it down. That way, we can open up the wall between the kitchen and living area. We plan to make this a cased opening so that one of the short walls acts as a place for our entryway table. That way, when you enter the house, you see the entry table (rather than the stairs) and you can see right into both the kitchen and living space with all the beautiful windows.
We also plan to totally gut and update the kitchen, redo the floors, paint, change light fixtures, oh and the entire exterior. Needless to say, we’ve got a lot of work ahead of us but I’m so excited to share the journey with you. Stay tuned!


Ashley Lynn Says
This is great. Buying a home is so scary sometimes, but as you renovate it and make it more of your own, it’s so satisfying. Your place looks so great Amanda
Chelsea Becker Says
Aw thank you so much, Ashley! Glad to hear it was helpful.
Pingback: 5 Questions to Ask Yourself Before Starting Your House Hunt – Advice from a 30 Something
proofreading-services.org/proofreader.php Says
Your life position and cheerfulness allow you to implement such projects that initially seemed unrealistic.